- Details
- Hits: 1220
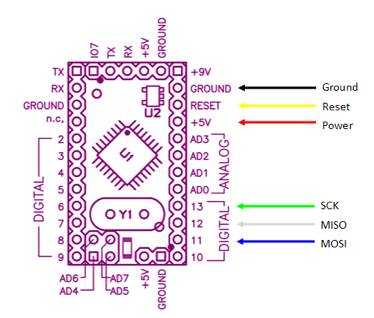 |
Petit tuto pour programmer un Arduino Pro-mini en ICSP avec un programmateur USBASP 2.0 Dans certains cas, il peut être nécessaire de programmer un Arduino via le port ICSP. Par exemple, si le microcontrôleur a été remplacé par un neuf, si par mégarde le bootloader a été corrompu ou effacé, si le programme injecté est corrompu et qu'il n'y a plus d'accès via le port USB ou le connecteur FTDI, si le logiciel est distribué au format HEX, si on n'a plus accès au microcontrôleur via le port USB, etc... |
- Details
- Hits: 9229
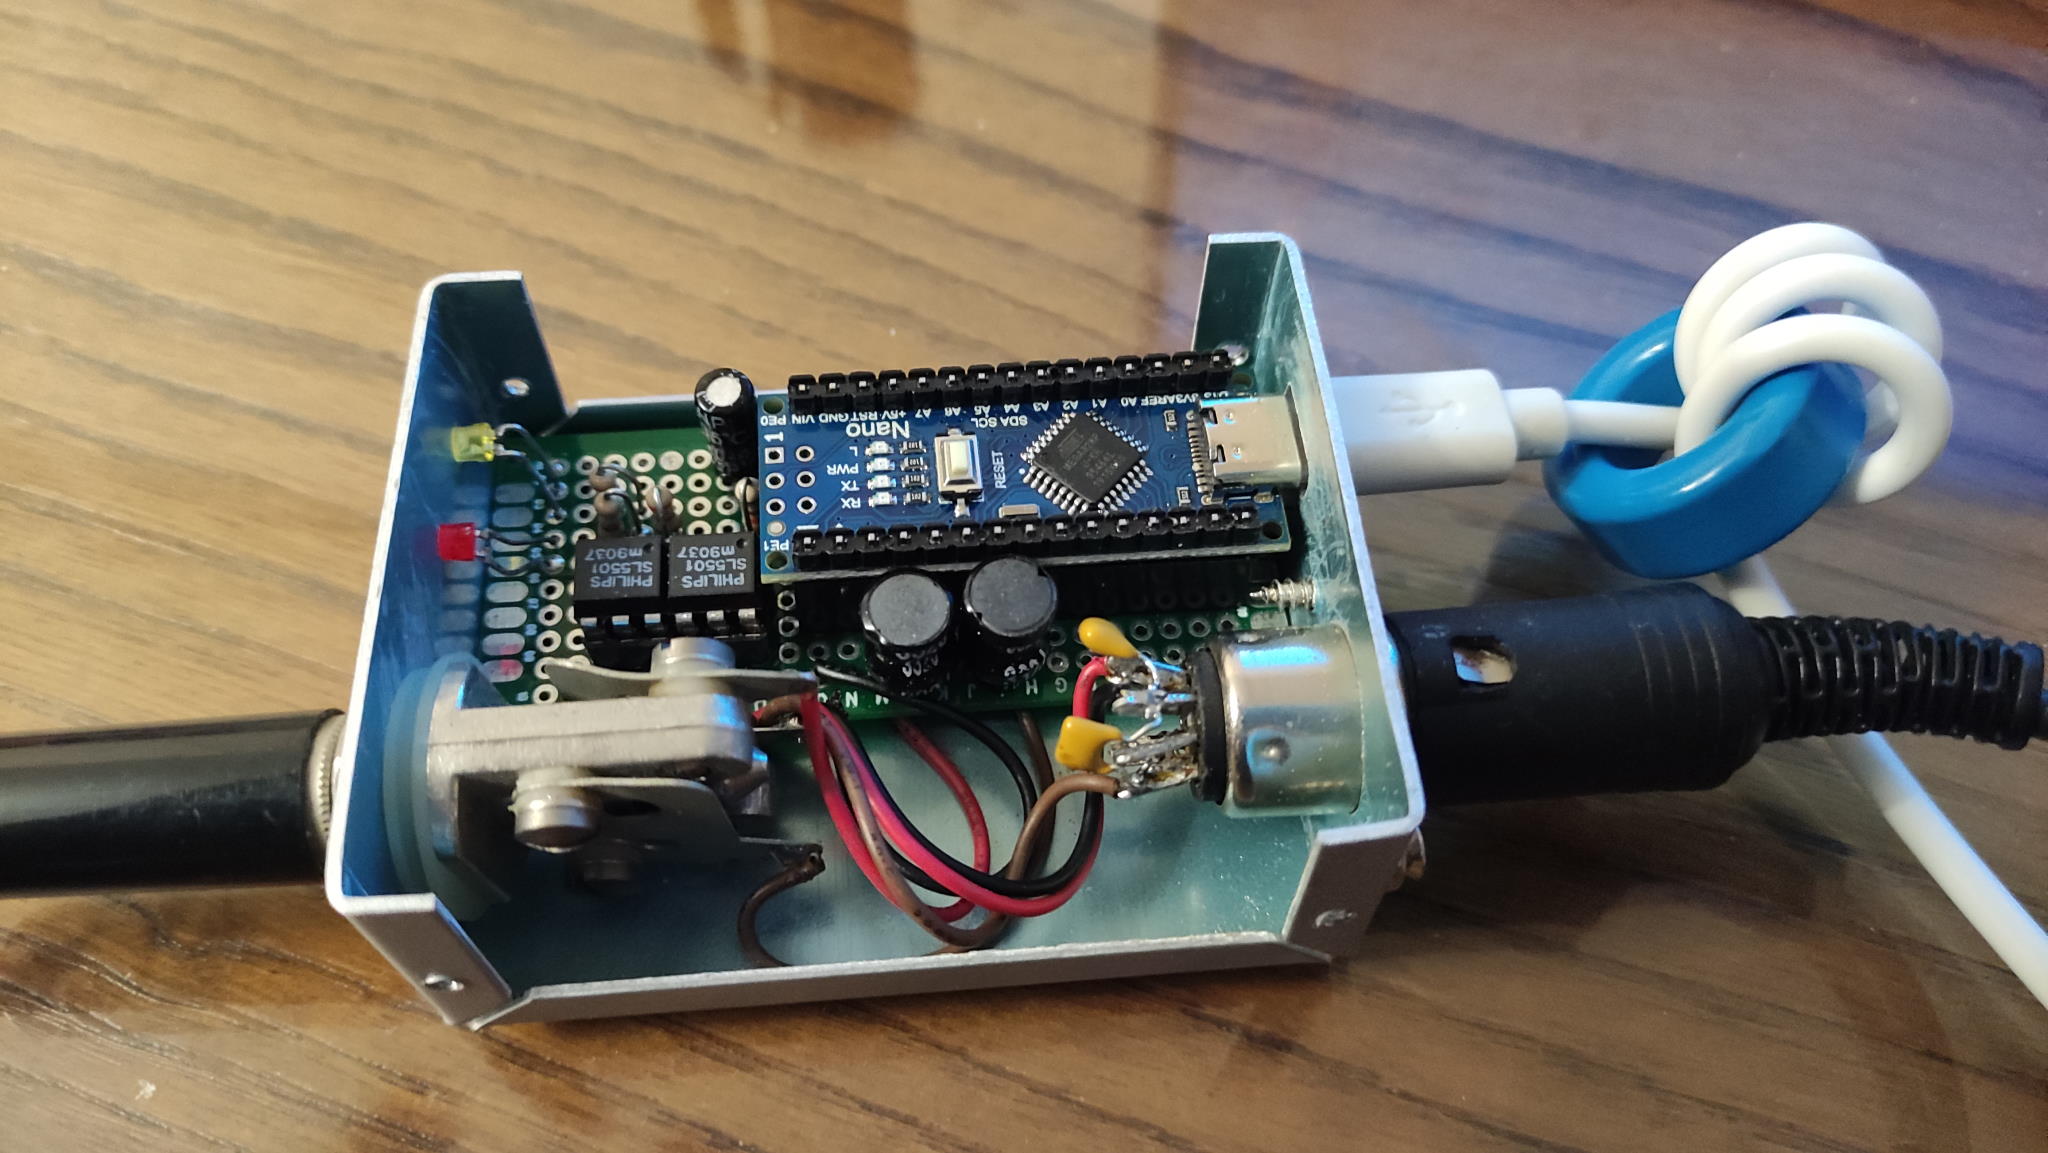 |
KISS (Keep It Simply Stupid) principle for the realization and parameter setting of this Winkey CW keyer using an Arduino Nano and the Keyer software by K3NG. |
- Details
- Hits: 17698
This page is just a reminder for me, so i can find the commands i need from everywhere in the world... ;-) But it can be helpful ...
I've built a K3NG keyer with a small Arduino Pro mini board. I needed minimal functions :
- 3 memories
- a small speaker for the monitor.
- no speed pot.
- no USB interface.
- sleep mode after 1 minute.
- all settings are done in command mode with the paddles.
To be used in the field, the keyer is powered with a 3.7V battery. When in operating mode, the keyer consumes about 4mA, in sleep mode after 1 minutes : 0.1 uA ! No power switch is needed.
The author's Web page : https://blog.radioartisan.com/arduino-cw-keyer/
The software can be downloaded here : https://github.com/k3ng/k3ng_cw_keyer
The K3NG keyer Wiki is available here : https://github.com/k3ng/k3ng_cw_keyer/wiki/
SETTINGS
File Keyer_features_and_options (only this lines were uncommented)
#define FEATURE_COMMAND_BUTTONS
#define FEATURE_MEMORIES
#define FEATURE_SLEEP
#define OPTION_PROG_MEM_TRIM_TRAILING_SPACES
#define OPTION_DIT_PADDLE_NO_SEND_ON_MEM_RPT
#define FEATURE_COMMAND_MODE_ENHANCED_CMD_ACKNOWLEDGEMENT
File Keyer_settings (Changed only this line)
#define go_to_sleep_inactivity_time 1
#define analog_buttons_number_of_buttons 4
COMMAND MODE
Enter in command mode by pressing the command button
Exit command mode with X command or press the command button
MEMORIES
Px - program memory x (1 to 12), or press memory button after command button
Yxxxx - change memory repeat delay to xxxx ms
REPEAT press the memory button and keep it pressed then touch a paddle.
ERASE simply change memory but leave empty
SPEED
E - Announce speed
W - change speed with LEFT (plus) and RIGHT (minus) paddles.
M - change COMMAND mode speed
MONITOR
F - Change monitor frequency, use paddles for higher or lower frequency
O - toggle Monitor ( cycles through BOOP OFF, short BEEP ON, long BEEP ON only in paddle mode, not memories )
KEYER MODE
A - Switch to Iambic A mode
B - Switch to Iambic B mode
C - Switch to Single Paddle Mode
D - Switch to Ultimatic mode
G - Switch to Bug mode
T - Tune mode press RIGHT paddle for permanent Tune, LEFT paddle for intermittent Tune
KEYING SETTINGS
H - Set weighting and dah to dit ratio to defaults
I - TX enable / disable
J - Dah to dit ratio adjust
K - Toggle Dit and Dah Buffers on and off (Ultimatic Mode)
L - Adjust weighting
N - Toggle paddle reverse
Z - Autospace On/Off
STATUS
? sends status
1) Speed in WPM
2) Keyer Mode (A = Iambic A, B = Iambic B, G = Bug, S = Single Paddle, U = Ultimatic)
3) Weighting
4) Dah to Dit Ratio
- Details
- Hits: 15473
Some notes on how to use a SIM800 coreboard with an Arduino.
I bought the following cheap SIM800L board and have had some problems to make it work.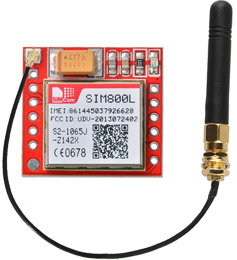
- Details
- Hits: 24196
Description of a PCB, also called "shield" allowing to build a universal rotator interface based on the K3NG software. Only the AZIMUT function is supported.
This PCB has been thinked to be used either with a LCD display or an Ethernet shield to allow a remote usage via IP, and for a rotator using a variable resistor for the azimut value . (HAM IV or CD44 in my case)
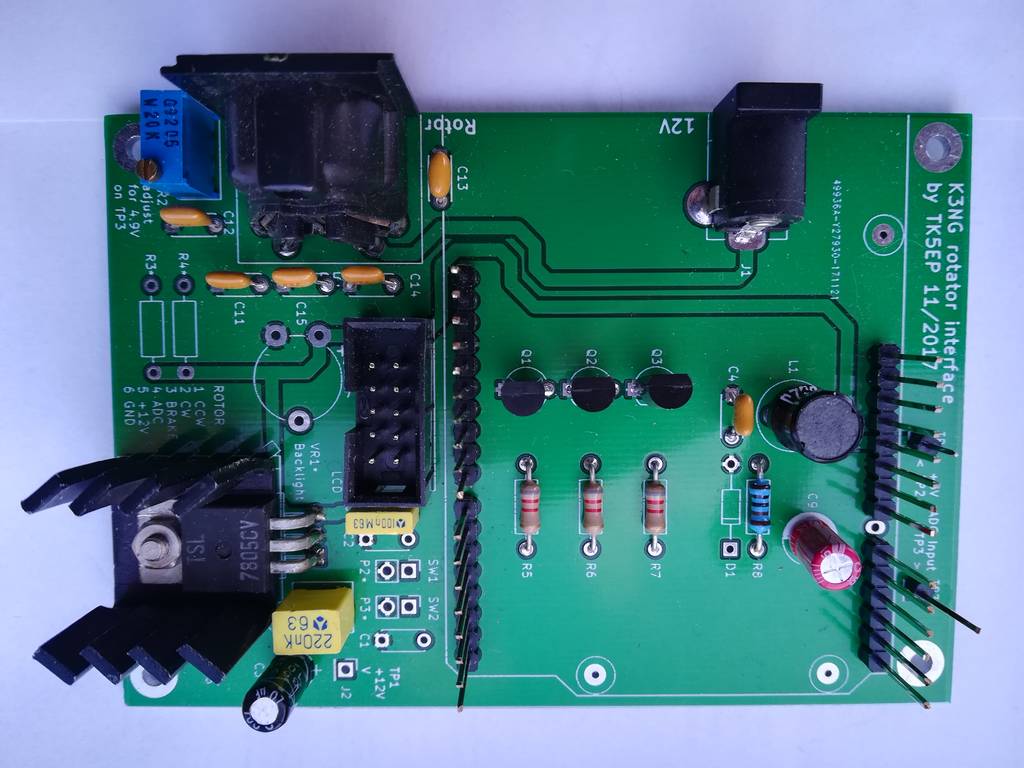 The board includes :
- a 5V/1A regulator
- a header to plug an Arduino UNO and an Ethernet shield
- a HE10 male connector for to LCD display with a ribbon cable
- a 5 pin DIN connector (+ ground shell) to connect the rotator control box
- 2 connectors for the "Clockwise" and "Counterclockwise" pushbuttons
- a multi-turn ajustable resistor VR2 for the azimut calibration
- an ajustable resistor VR1 for the LCD contrast
- 3 transistors for the CW, CCW, and BRAKE commands (open collector outputs)
I still have some naked pcb boards left. If interested, please feel to contact me.
- Details
- Hits: 37393
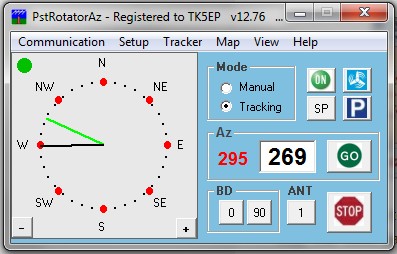 |
While building up my remote station, i was looking for a solution to control one or 2 azimuth only rotators via the Internet. There are several solutions and i finally adopted the K3NG rotator project i already used for a rotator controller connected via USB to my computer. |
- Details
- Hits: 14446
During the writing of my beehive monitoring project "Apaguard " using an Arduino UNO, i've been quickly very clode to the SRAM limit...
The Arduino UNO has "only" 2048 bytes of SRAM, which can quickly be filled if no precautions are taken.
Here are a few tricks i used during my writing, which permitted me to save a lot of SRAM and should be used by anyone coding on Arduino.
- Details
- Hits: 34996
To be finished...
Some years ago, i developed my own rotator interface with a PIC 18F452. In a need of another interface, i was unable to find my software sources of this project, lost somewhere in the computer Walhalla ! So, i looked for a finished project to build, and found the K3NG Arduino rotator project.
It looked very complete and having some recent experiences with the Arduino, i decided to give it a try.
What i needed :
- Only azimuth drive
- 2 lines LCD display (as i had several of them)
- Eventualy 2 buttons CW + CCW to drive the rotator
- Running on an Arduino Uno (as i had several)
- Details
- Hits: 25278
At first glance, measuring a voltage with an Arduino UNO seems to be a simple task. You only need to use the builtin A/D converter and the analogRead() function. But if you want to do this and get good results, you need to take some precautions and understand what you are doing !
Here my experience, and at the end i got very good results !
- Kazançlı bir başlangıç yapmak için deneme bonusu sunan bu siteye göz atabilirsiniz.
- Fırsatlarla dolu deneme bonusu veren siteler arasında öne çıkan bir seçenek burada.
- Yeni üyeler için özel bonus veren siteler, avantajlı teklifleriyle dikkat çekiyor.
- Kullanıcı memnuniyetine odaklanan bonus veren siteler, eşsiz fırsatlar sunuyor.
- Güvenilir bir deneyim için deneme bonusu veren siteler, kazanç kapınızı aralıyor.
- Hızlı kazanç fırsatı sağlayan deneme bonusu seçeneklerini keşfedin.
- Avantajlı teklifleriyle deneme bonusu veren siteler, yüksek kazanç imkanı sunuyor.

